How to run a Windows container from a Windows 10 virtual machine
I've been banging my head against the wall for the better part of a week trying to figure out how to run a Windows container from a Windows virtual machine. I revisited my blog post on Windows containers from two years ago and was reminded that Hyper-V is a dead-end. The name of the game is process isolation.
Process isolation works by sharing the kernel, just like a Linux container, and thus requires a container image built on the same kernel version as the host. The latest version of Windows 10 as of this writing is build 19043, going under the short name 21H1 (i.e. released in the first half of 2021). Sadly, Microsoft has not published a Nano Server or Server Core container image for version 21H1, and may have no intention of doing so, making process isolation for that kernel impossible.
But there are container images for the previous version, 20H2 (build 19042). To create a virtual machine running Windows 10 Pro, version 20H2, we need its ISO image. Microsoft no longer conveniently publishes it at the usual location. Finding it is left as an exercise for the reader. I happened to have a copy lying around.
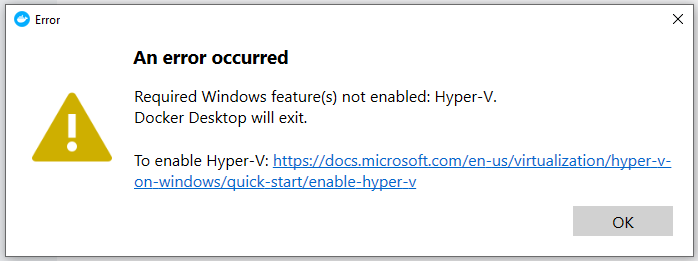
Even though we won't be using Hyper-V isolation for the containers, Docker Desktop expects it to be enabled on the machine.

For that to be possible, we must virtualize the processor's virtualization, i.e. we must enable nested virtualization in the virtual machine. If you are using VMware like I am, nested virtualization is enabled by selecting Virtual Machine Settings -> Hardware -> Processors -> Virtualize Intel VT-x/EPT or AMD-V/RVI. When I am first creating a new virtual machine in VMware Workstation Player, I cannot select this option. Instead, at the hardware configuration step, I de-select the option to start the virtual machine after creation. Then after, the virtual machine is created, I can enable nested virtualization and start the machine manually.
Once we have a virtual machine running Windows 10 Pro, version 20H2 (check "About your PC" to confirm), we must enable the optional Windows features Hyper-V and Containers and restart the machine. In a PowerShell running as Administrator:
Enable-WindowsOptionalFeature -Online -FeatureName $("Microsoft-Hyper-V", "Containers") -AllNext, install Docker Desktop. We no longer need to worry about the old process isolation workaround using Docker Enterprise Engine, which is good given that I have no idea what state it is in after it was sold in late 2019.
Docker Desktop will likely fail to start the engine the first time it runs, because by default it tries to start the WSL2 engine. Right click the Docker icon in the system tray, and choose "Switch to Windows containers".
Open a PowerShell as Administrator and pull a container image with a matching kernel.
If you have an AMD processor like I do, be sure to choose an -amd64 variant.
docker pull mcr.microsoft.com/windows/nanoserver:20H2-amd64Then run it with process isolation. It is important that we put all options before the image ID. The rest of the line is considered to be the starting command.
docker run --isolation process --rm -it mcr.microsoft.com/windows/nanoserver:20H2-amd64 cmd.exe